Menu

Show posts

This section allows you to view all posts made by this member. Note that you can only see posts made in areas you currently have access to.

Show posts Menu

Messages - screamer

#101
the absolute number based on shutter count will be a simple but useful new feature, i like all this new things :))
#102
Hi all,
i don't know if it a topic already spoked about somewhere in the forum, or if it is a "not so simple" or "not so useful" idea, but i'de like to see new features about timelapses.
For example should be fantastic to select an interval for the start and one for the end. For example, i want shot 100 frames, starting at 10seconds interval and arriving to 1 second interval at the end. So you can do something like acceleration/deceleration in timelapses. Or for example combined with bulbramp you can start a sunset with a 10seconds interval, and when the night becomes the interval increase to 1 minute, so the iso could stay low.
This is the concept. then in my mind i've gone further, i think of a sort of xy graphic with the frames on the x and the interval on the y. And the user can add point in this xy. every point has 2 values, the frame and the interval. So, let's say, one can decide to put an accelleration on start, then a straight framerate for a while, and the finishing slow down.. would be amazing :)
And, should be amazing to apply some mathematical formulas too, i don't know what, something like some spline behaviours. so a slow start, and acceleration and a slow down on the end. And for example letting to the user the coiche of how much "easing" there's.
but ok, this is fantasy, but setting the start interval and the end interval should be enough amazing too ;))))
#103
it would be fantastic :) and if you need help in design i'll be happy to help ;))
#104
Hi developers,
i don't know if this is the right place, and i'm shure that it's to soon to speak about it, but recently canon announced the new eos m camera, that is the first canon mirrorless. Reading about it i've found that it is very similar to our actual eos dslrs, digic 5 processor, probably the same 18mp sensor of the 650d, and a lot of other similarities.
So the question is, do you think a day in the future magic lanter should be compatible with it? i image a little camera capable of all the magic of magic lantern :))
we will see :D
#105
All this iso things are really interesting, and the article is a pleasing and illuminating read.
But i want to ask a question. why the digital negative gain isn't available in photo mode? it's because you don't find useul or for some hardware/software limitations? because i think that decreasing the 100iso limit should be very interesting used like a "digital ND filter". I mean, lowest iso, increased time. So for long exposures should be interesting (i don't know how many stops this could be done, but could be useful)
#106
Hi all,
some night ago i went out to test magic lantern feautres and take some photos. And i've done a lot of hdr with automatic hdr bracketing. Here is a view of rome from a panoramic spot (called pincio):


#107
wow, well done, and really natural and pleasing result
#108
General Help Q&A / Re: STACK FOCUS
July 19, 2012, 02:39:26 AM
:) yes, i remember the first time i wanted to try focus stack, and don't know if the problem was me or magic lantern, and was me :)) when you remind the right progression of things to do it becomes quite easy.
Anyway, what i posted is the "long" method, i like it because i like to see with rack focus where i'm started and when i finish my stack, but if you are in a hurry here is a walkthrough for focus stacking in a second:

1. go to magic lantern menu, activate follow focus, and stack focus to snap (i let it there always really)
2. go to live view and set your first point where you want and with the method you want (autofocus, manual, arrow keys)
3. go to magic lantern and press set over the focus end point
4. now you are in liveview, turn the whell to your finish point
5. press the shutter button to take the stack

;)
#109
General Help Q&A / Re: STACK FOCUS
July 18, 2012, 08:58:11 PM
hey jbuy41, i had some problems too to use correctly the focus stacking in the past. After reading well the guides and try by myself i found a workflow that works very well, and it's esay to use (for me).

1. activate the follow focus from the focus magic lantern menu
2. switch the liveview on
3. now you have live view with the FF++ FF-- on the screen. Now you go to the focus you want to use to start (you can go manually, or with autofocus, or using the arrow keys (up a down go fast, left and right more precise adjustments).
4. When you are on the starting focus point for you stack, return in the magic lantern menu, and  go to focus end point, and press set.
5. now you are again in live view and should have something like: Focus End Point: 0, not configured
6. use the main wheel (not the one on the back, but the one you use for the shutter time, the one near to the shutte button. If you turn clockwise the focus point go near you, if counterclockwise the focus goes far from you (i use always this, because i set first the nearest point of focus, but it can works in all the 2 ways).
7. when you turn the wheel you can see the on screen text changing, and saying the number of steps between the start point and where you are (for example it says: Focus End Point: +18 steps from here)
8. When arrived on the last point of focus, go again in the ml menu, go to rack focus, and then press "set" (i don't know if this part is really needed for focus stacking, but is useful to see if the range is correct, because the focus returns from the last point to the first that you have selected in point 4.
9. when the rack focus is finished and you are again in the starting point, simply go again in ml menu, set Stack focus to snap and then you are ready for taking the shots. You take the first, and magic lanter do the rest.

Hope it helps, anyway i've wrote a tutorial about focus stacking using magic lantern, but because i'm italian and my english is not so clear, at this time my tutorial is in the hands of Bart, that will correct and structure it, and hope soon you can see it in this site, as an article or something like this ;)
#110
Share Your Photos / Re: Photos section: Rules
July 16, 2012, 08:44:45 PM
rules readed  ;D i never fault again :D
#111
sorry :( it was the first and the last time i did
#112
Hi all,
today i taked some shots with the new magic lantern. I've used the automatic hdr function. I love that function, because especially in the night hdr photography you don't know if all the lights are covered, or all the dark areas. Sometimes this function gives me a lot of shots, sometime not, it really depend on the scene. and this is fantastic, because with automatic you are shure you have all shots you will need later. When i'm not in a hurry i use this function, with small 0.5 step of exposure between each one. And then, when on my pc, i can use all the shots, or only some of them.
Here is the result, did the hdr tonemapping with photoshop and lighroom (really like the "quite natural" result of this workflow). And some little retouching for removing the bag on the left side
view large ;)


or view it on my flickr:
http://www.flickr.com/photos/pedroscreamerovsky/sets/72157630067787487/
#113
wow, great work man ;)
#114
wow, bellissimo e realizzato benissimo!!! congratulazioni, molto bello, movimenti camera eccezionali!
great work ;)
#115
i'm doing some other tests today, and can admit this is really a smart workflow, and achieving the "natural looking" result was never so simple.


photomatix


new workflow (lightroom, photoshop, lightroom)


here is another test i've done today with old 3 bracket, compared with the old one tonemapping in photomatix (yes i know, the old one is really exagerated, but anyway interesting comparison :D)
#116
@scrax: you are right ;)
#117
Hi guys,
just discovered a new function available in lightroom. the hdr tonemapping. And in a really interesting way.
here is an example done with 9 shots taken with magic lantern hdr functions:

The workflow is quite simple, and those of you that are using lightroom and photoshop for tonemapping will find this workflow very similar to what you already do.
Open the shots in lightroom, select all the shots you want to join in an hdr, and then click with right mouse button, and in the modify menu you can find something like "join to hdrpro in photoshop" (i have the italian version of software).
So now that you are in photoshop, don't tone map here, but join the photos in a single 32bit tiff. Save the image and edit it in lightroom like every other image. And that's it. You can simply lower down the hilights and up the shadows and you have a perfect natural hdr. If you want a more hdrish look simply go up with clarity and with saturation ;)
#118
Share Your Photos / Focus stacking and HDR together
July 02, 2012, 08:52:04 PM
Hi guys, here is an experimentation with focus stacking and hdr functions combined together. I've shot a 3 bracketed hdr focus stacking with a final result of something like 200 images to combine. Then i tonemapped all together the brackets, and then combined the focus slices with combineZP.

#119
Share Your Photos / Re: Hdr dragonfly
June 30, 2012, 03:01:31 PM
Oh yeah, it rocks
#120
Share Your Photos / Re: Some HDR w/ ML
June 30, 2012, 03:01:00 PM
very good pics ;)))
#121
Share Your Videos / Re: FD lenses and magic lantern
June 25, 2012, 02:01:21 PM
Hi, first of all, i love that filmish look. Yes, b4rt are right, the fd lenses probably is not the best choice regards tha quality of image. but, hey, there's a lot of interesting photography/filming based on the "non-quality". Sometimes the "bad influence" of a cheap glass can be a feature, not a bug. it's a matter of tastes. So, because i like this images i say: fd lenses on a 550d? cool :D

anyway B4rt is completely right, there's a lot of alternatives, and probably the most can give better results in terms of image quality, but with the same filmish look. Let's say you can pass from an old 16mm to an old 35mm filmish look :D
And, other interesting and cheap lenses with m42 mount are the russian helios

http://en.wikipedia.org/wiki/Helios_(lens_brand)

especially the 44, quite famous for its bokeh (that used the old zeiss biotar optical formula).

here you can find a lot of other interesting and cheap old russian lenses: http://top35mm.com/

cheers, and great work ;)
#122
Share Your Photos / Re: 3D HDR
June 24, 2012, 07:19:00 PM
Wow, really interesting. Per us know wherw we van see the final video when it's finished. Great work
#123
you have absolutely gained the goal ;) 
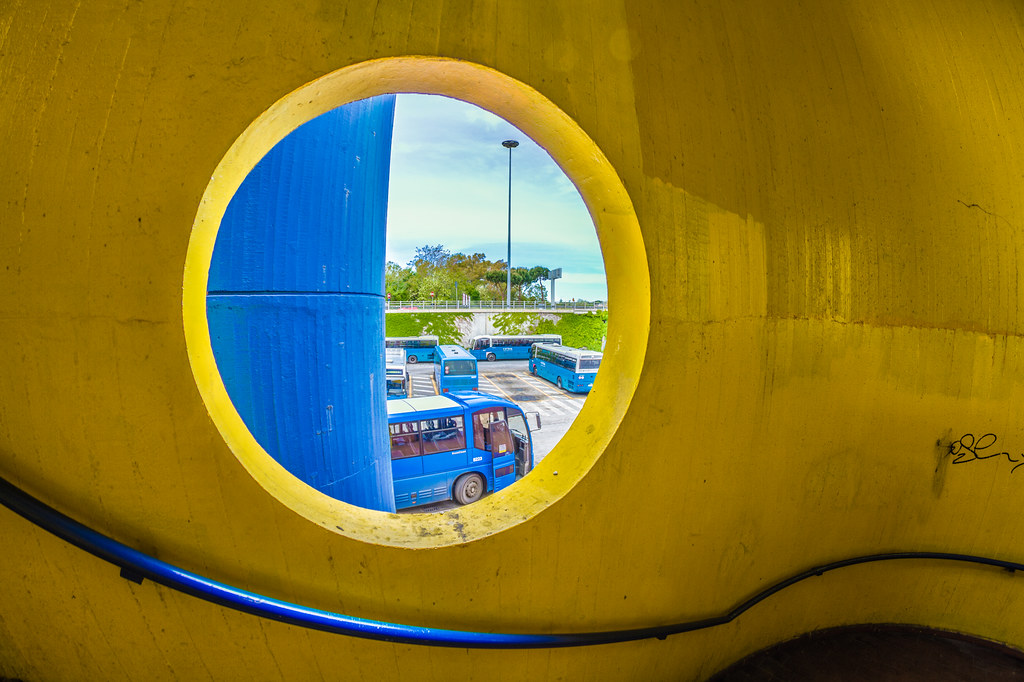
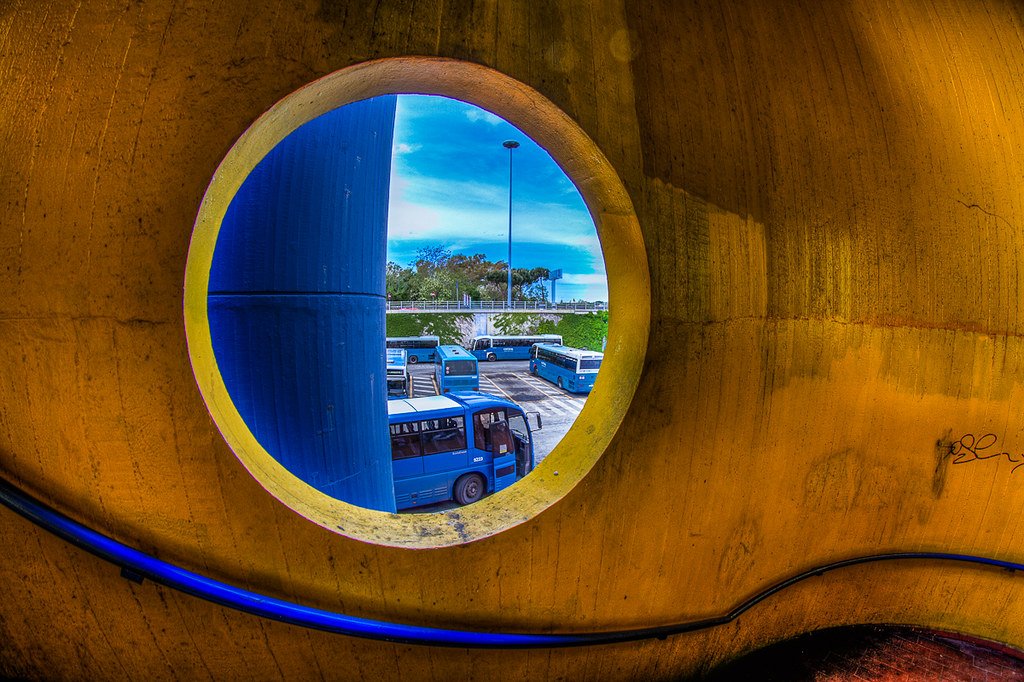
it seems something between the world of amelie and alice in wonderland :)
#124
wow, amazing, especially the first one, really fairy talish :))
#125
Share Your Photos / Re: More HDR experiments
June 23, 2012, 08:18:35 PM
wowowow, that are amazing!!! great work